
Sustainable Vegetables
Growing your own, sustainably.
Vegetables are the fastest, cheapest way to start growing your own food sustainably, a balcony rail with three pots is enough for a first harvest.
If this topic is close to your heart, I invite you to subscribe to the newsletter or follow the seasonal news and activities on my blog or on Instagram, and become part of the Urban Roots community.
1 · Why start with vegetables
Reasons to actually do this.
Fresher, more nutritious food
A tomato or lettuce leaf picked minutes before dinner has more flavour and more vitamins than one that has travelled days to reach a supermarket shelf.
It saves money
A packet of lettuce or radish seeds costs a couple of euros and can produce many times that value in food over a season.
Genuinely good for your wellbeing
Hands in soil, watching something you planted grow, and checking on "your" plants each day are small, calming, low-pressure habits.
A low-risk, low-cost way in
Radishes or lettuce go from seed to plate in weeks. If something doesn't work out, you've lost a few euros and a few weeks, not a season.
2 · Common misconceptions
What holds people back, and why it shouldn't.
Many people assume vegetable gardening is something you need to be taught properly, ideally by someone with decades of experience, before you can expect anything edible to come out of it. It's an understandable assumption, and it doesn't hold up.
“I don't have enough space.”
A balcony rail with three pots is enough for a first harvest. Radishes, lettuce, and herbs don't know or care that they're not in a proper garden bed.
“I'll kill everything, I don't have a green thumb.”
The starter list further down was chosen because it's nearly impossible to get wrong. Radishes go from seed to plate in under five weeks, if something fails, you've lost very little, and you just try again.
“It'll take over my evenings and weekends.”
It doesn't. Once things are growing, it's a fifteen-minute check a few times a week, water if dry, pull a weed, harvest what's ready. The busiest it gets is a couple of hours in spring.
Not every vegetable will thrive immediately, and losing a plant to a mistake now and then is completely normal, even for experienced gardeners. But "complicated" was never the right word for what growing vegetables actually asks of you. "Willing to try" is closer.
3 · Getting started: the basics
What actually matters.
Growing in a container
The easiest way to start on a balcony, terrace, or small paved yard, almost any vegetable can be grown in a container as long as it's big enough.
If you have decent, loose garden soil, mixing it roughly half-and-half with potting soil is a good, cheaper option, as long as it isn't heavy clay.
Containers dry out faster than beds, if you travel often, automating the watering solves this.
- Check before you water: stick a finger 2–3 cm into the soil. If it's dry, water; if damp, wait.
- Water at the base of the plant, in the morning or evening rather than midday sun.
- A layer of mulch on top of the soil helps it retain moisture so you water less often.
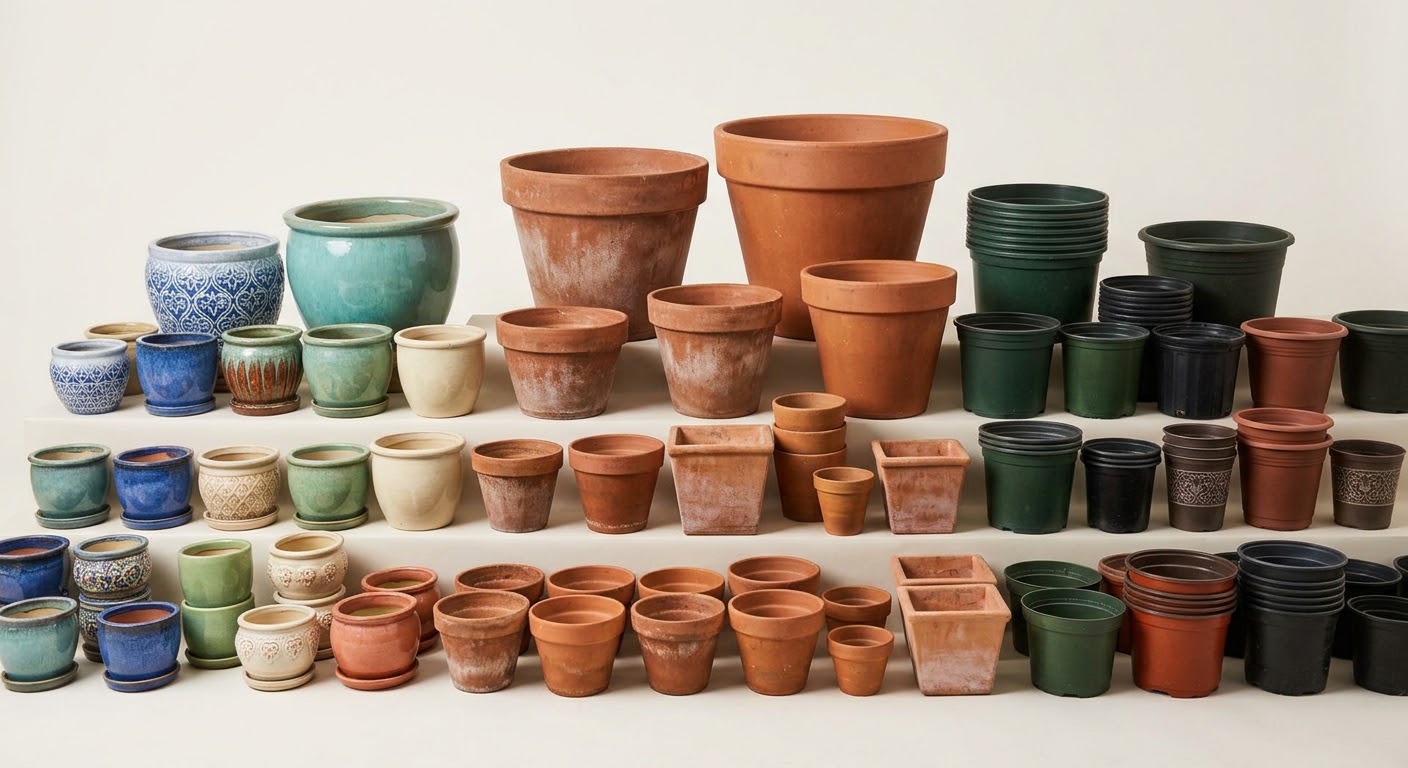
Pots
Terracotta, plastic, or ceramic, the classic container. Perfect for a balcony, terrace, or small paved yard; almost any vegetable can be grown in a pot as long as it's big enough for the vegetable you chose.
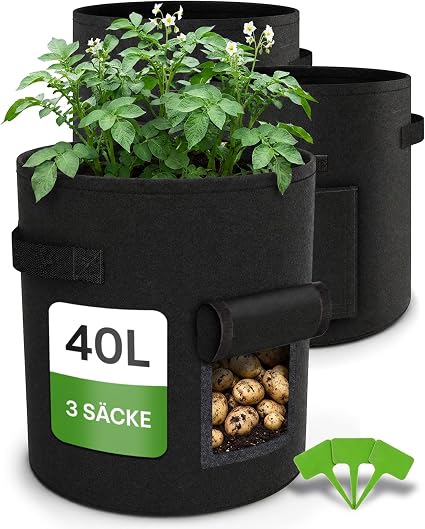
Grow bags
Lightweight fabric or plastic bags, fold flat when not in use, and fabric sides help roots avoid circling. Good for tomatoes, potatoes, and other big feeders.
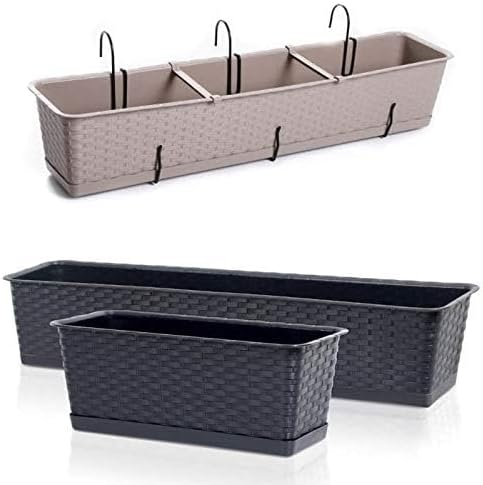
Window boxes
Narrow boxes that fit a railing, sill, or balcony rail, ideal where space is tightest, e.g. herbs, lettuce, and radishes.
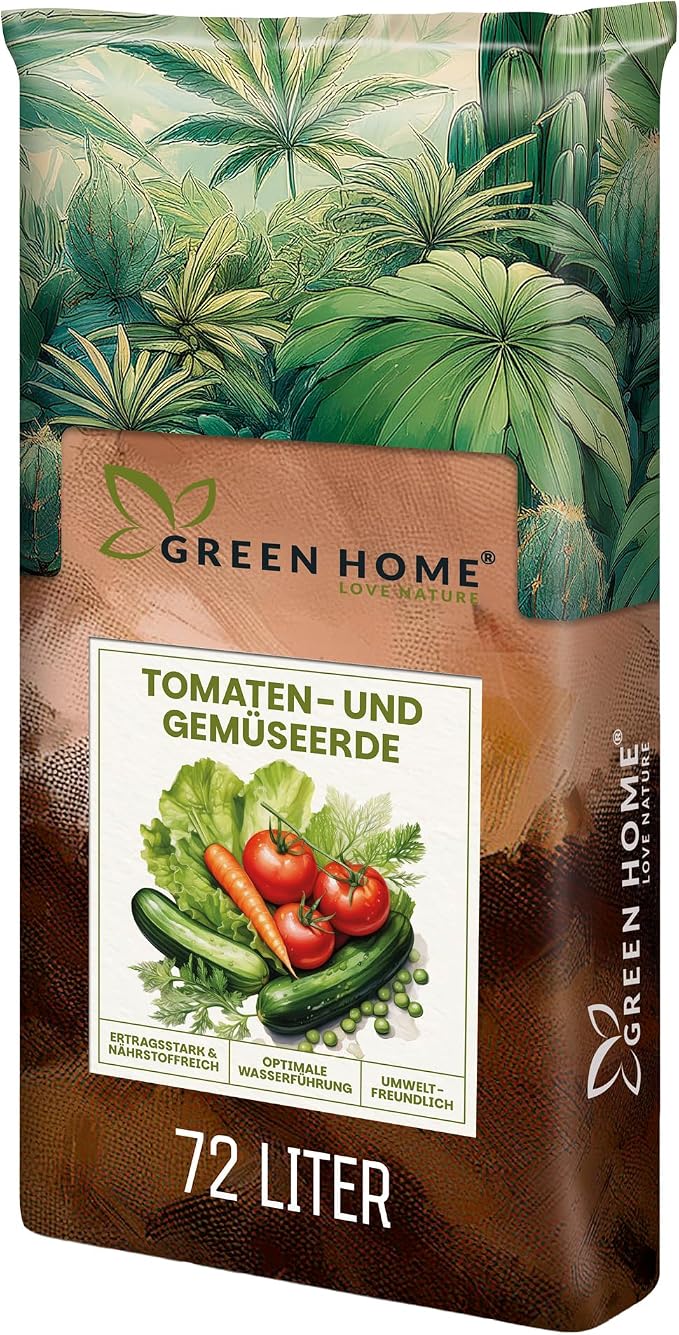
Vegetable soil (Gemüseerde)
Ready-made bagged soil, the simplest option for containers. Doesn't need to be organic.
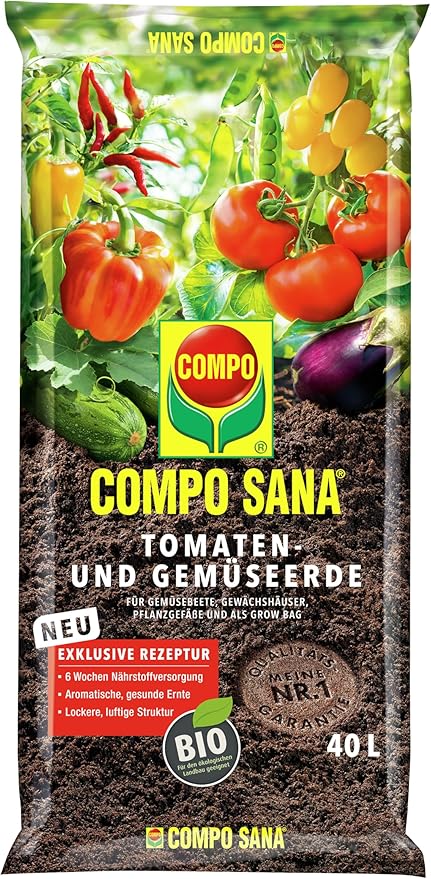
Organic potting soil (Bio-Erde)
The certified-organic version of bagged vegetable/potting soil, for anyone who wants to keep the whole growing process organic.
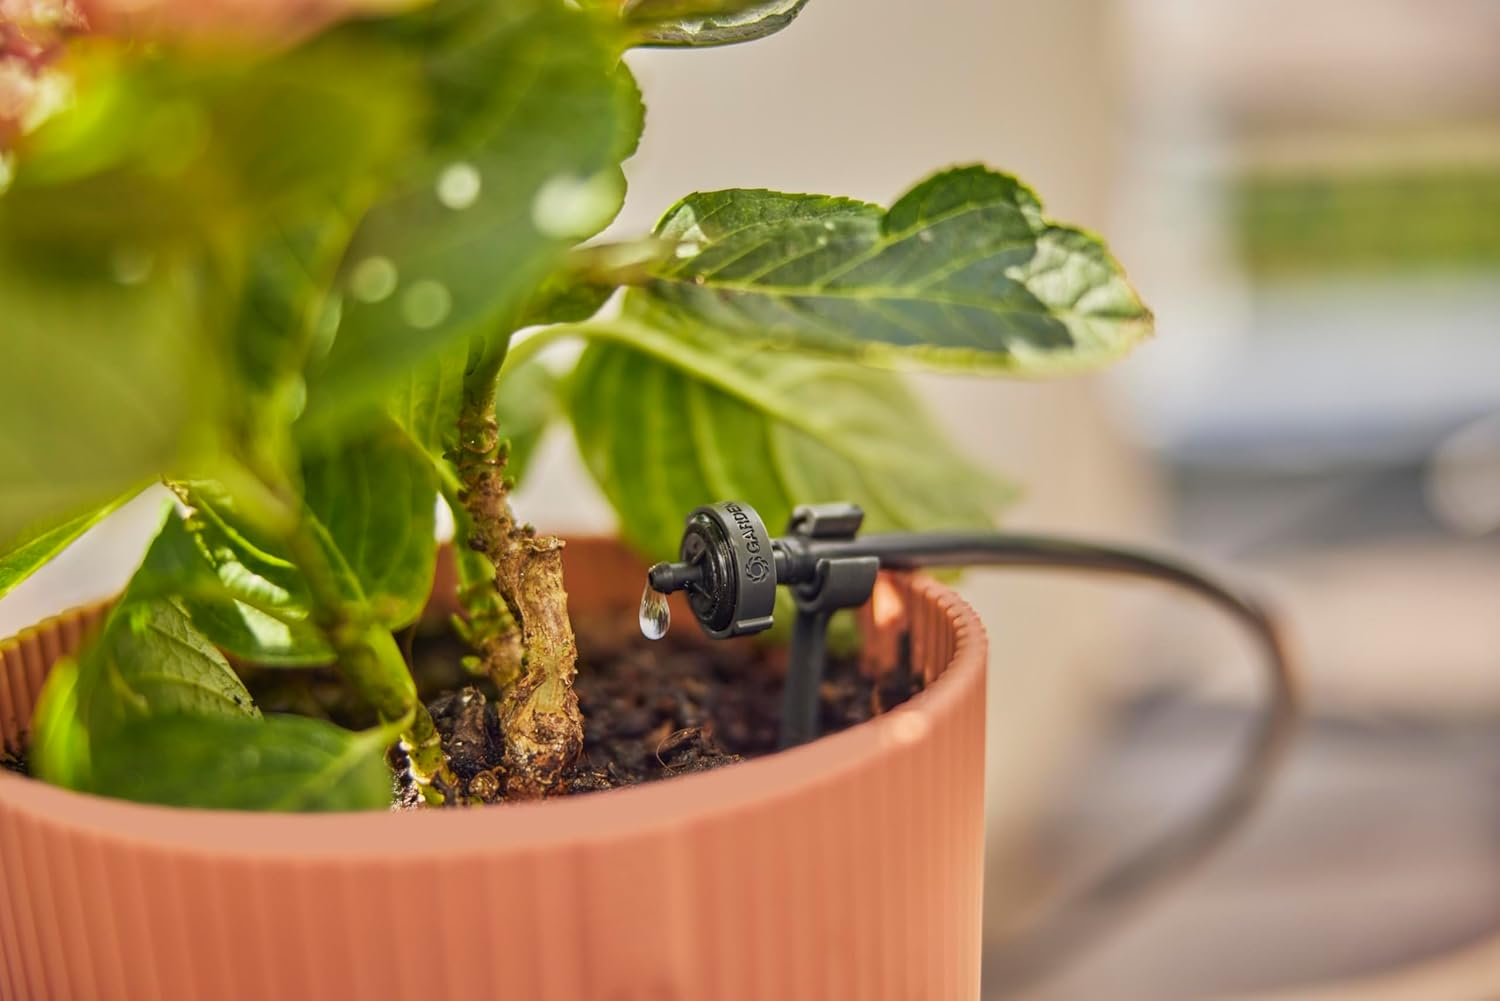
Drip irrigation (Tropfbewässerung)
Thin tubes feeding each pot individually, right at the base of the plant, solves the biggest downside of containers, which dry out faster than any other growing method. Keeps foliage dry too, cutting fungal disease.
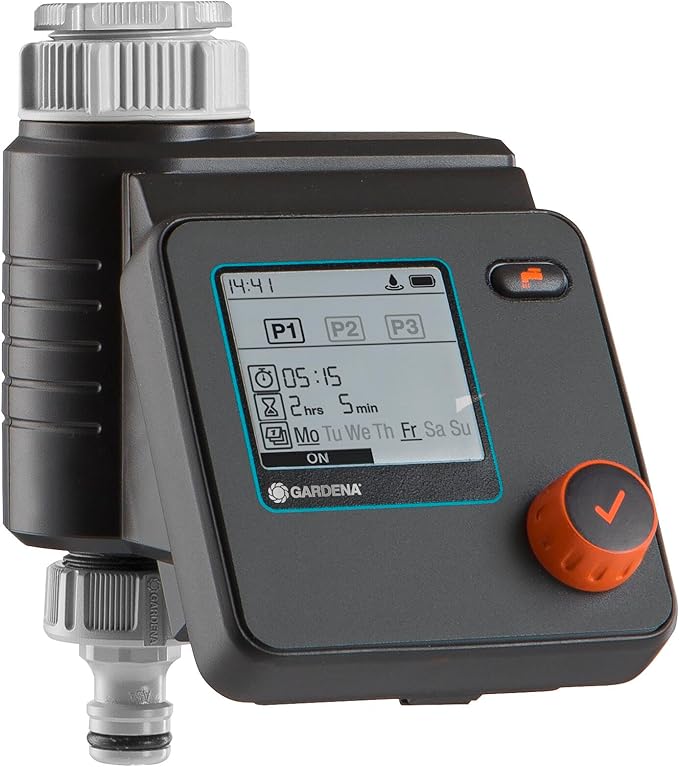
Irrigation timer (Bewässerungscomputer)
The automation piece, mounts on the outdoor tap and switches the drip lines on and off on a schedule. Some models add a rain delay or a soil-moisture sensor.

Mulch
A layer of straw or grass clippings on top of the soil cuts down how often a container needs watering. Skip bark mulch here, it's too slow to break down and can rob container soil of the nitrogen vegetables need.
Raised beds (Hochbeete)
Sizes vary a lot: a compact balcony version might be knee-height or a bit more, while a full garden bed is usually 60–80 cm tall, and how you fill the two is genuinely different.
It's a common assumption that a raised bed is simply filled with compost. That's true for a small balcony bed, treat it like a container and fill with vegetable/potting soil mixed with compost, no layering needed (see "Soil" under "Growing in a container" above).
A full-size garden raised bed (60–80 cm tall) is different: traditionally filled in four layers, bottom to top.
Fill in autumn if you can, or very early spring otherwise. Expect the bed to settle 10–20 cm a year as the lower layers break down, top up with fresh compost and soil each spring; a full refill usually isn't needed for 5–7 years.
Raised beds dry out faster than ground beds, so getting water straight to the roots matters even more here, mini sprinklers aren't included below for that reason (see "Planting in the ground" for where they do make sense).
- Check before you water: stick a finger 2–3 cm into the soil. If it's dry, water; if damp, wait.
- Water at the base of the plant, in the morning or evening rather than midday sun.
- A layer of mulch on top of the soil helps it retain moisture so you water less often.
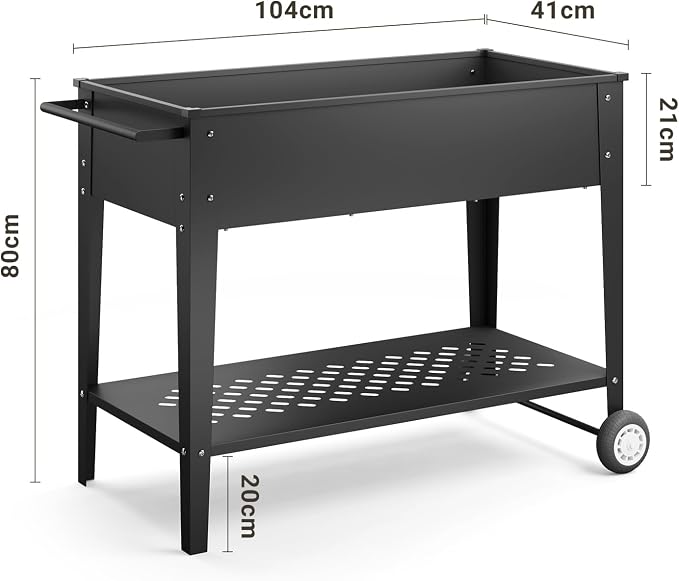
Raised bed, balcony/compact
Knee-height, table-height, or similar small raised bed. Filled simply, like a large container, see "Soil" under "Growing in a container" above.
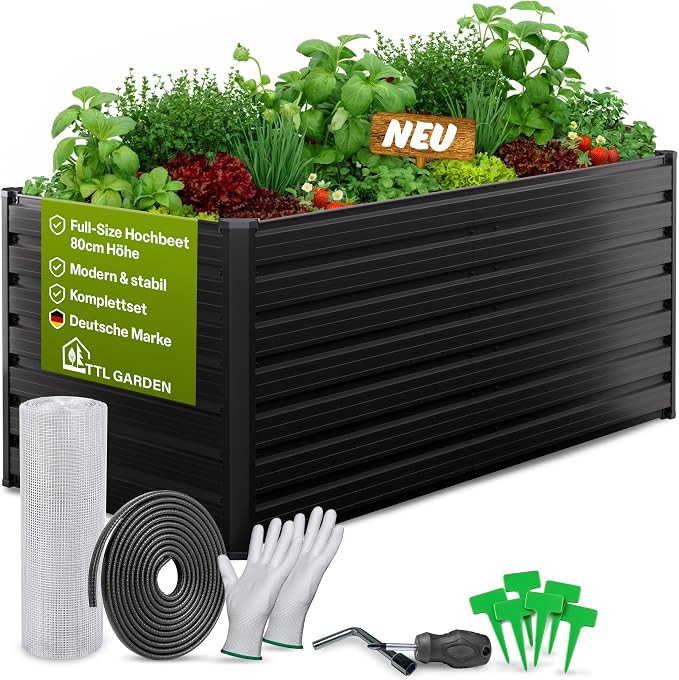
Raised bed, garden/full-size
A 60–80 cm wooden or metal raised bed for the garden. Traditionally filled in layers, not just compost, see "Filling a raised bed properly" below.
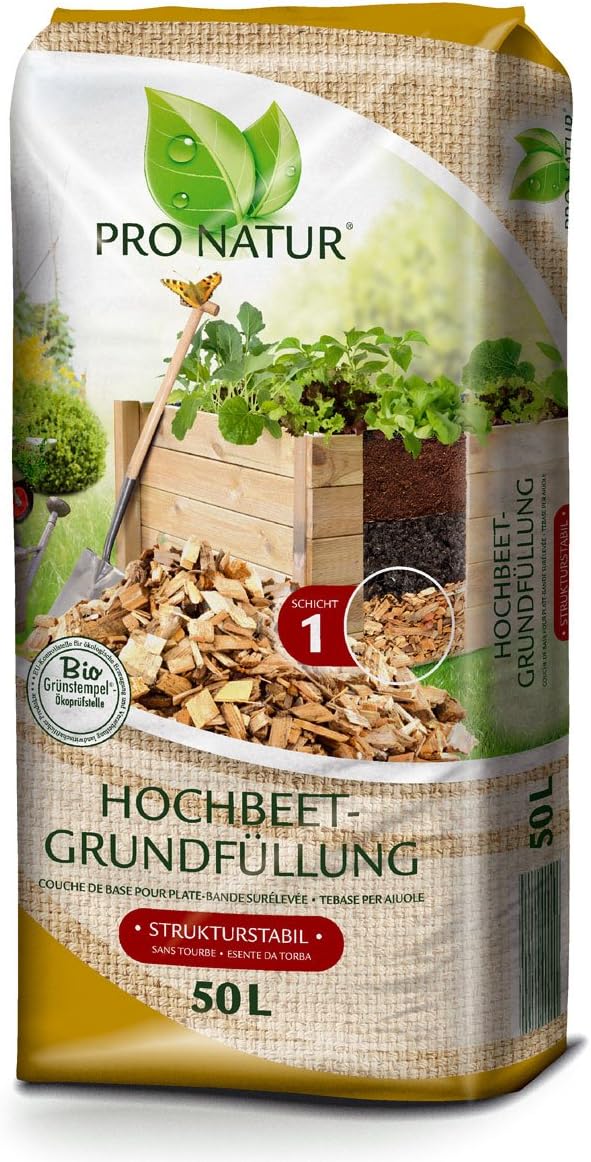
Coarse woody material (Häckselgut)
Branches, twigs, or wood chips. Bottom drainage layer (~20–30 cm), for airflow so the bed doesn't waterlog.
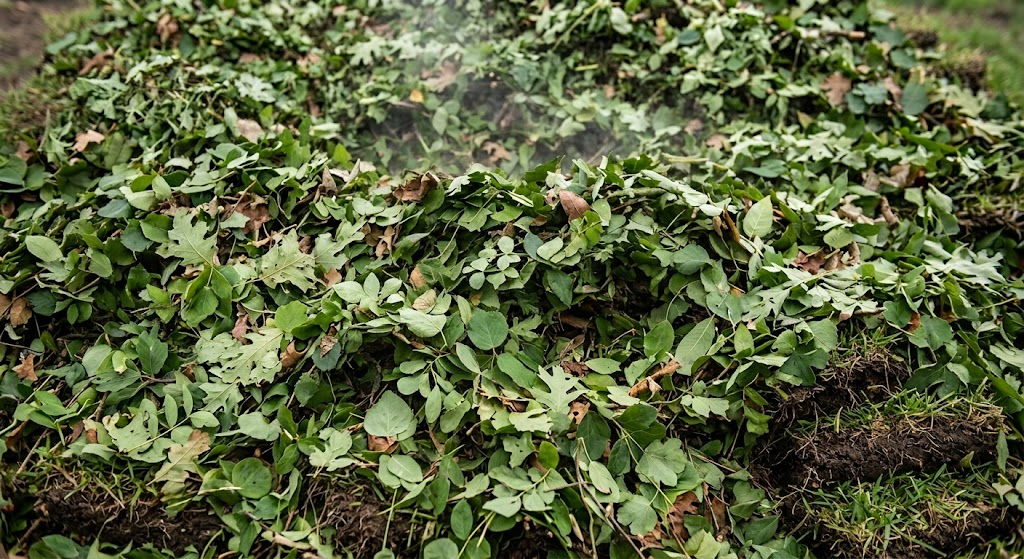
Turf/sod or leaves (Rasensoden/Laub)
Inverted turf cut from a lawn, or a layer of leaves, either works for the separation layer (~15–20 cm), stopping fine soil above from washing down into the drainage layer. Leaves are easier to source in autumn, and the two can be combined.
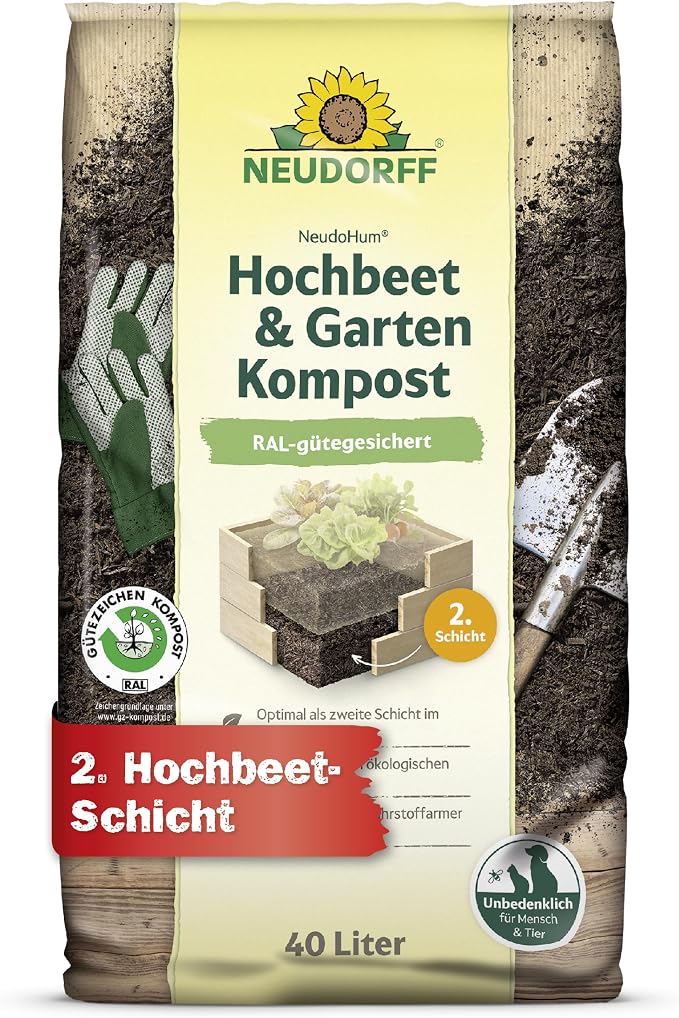
Half-rotted compost
Not-yet-mature compost. Nutrient layer (~20 cm), this is where most of the decomposition, and a little natural warmth, happens.
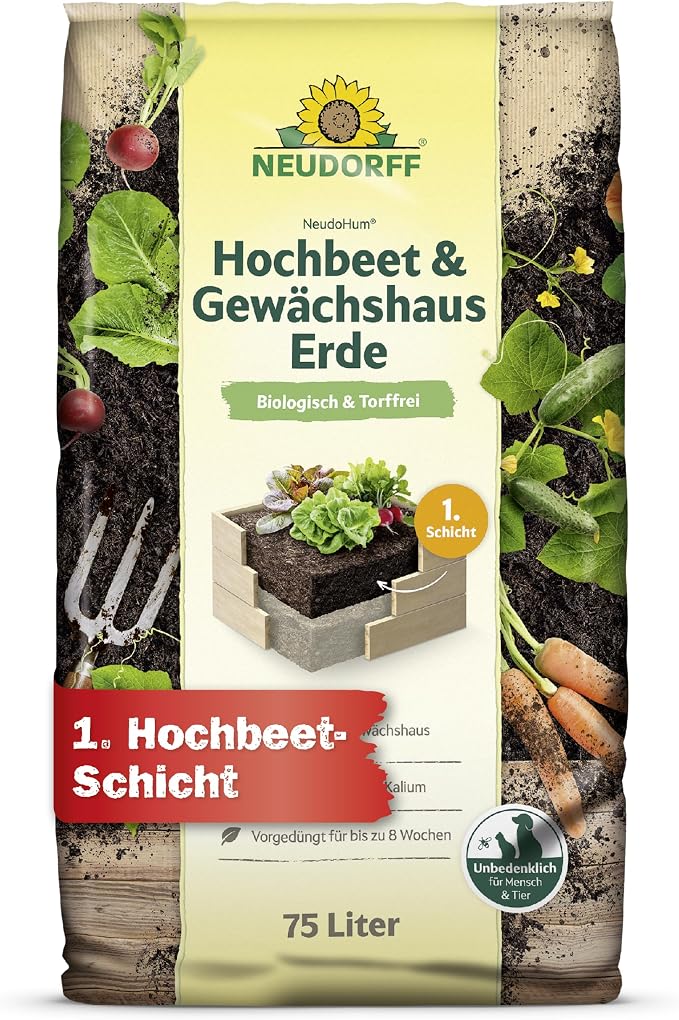
Raised bed soil (Hochbeeterde)
A ready-mixed topsoil/potting-soil/compost blend sold specifically for raised beds. The top planting layer (~20–30 cm), where roots actually grow.
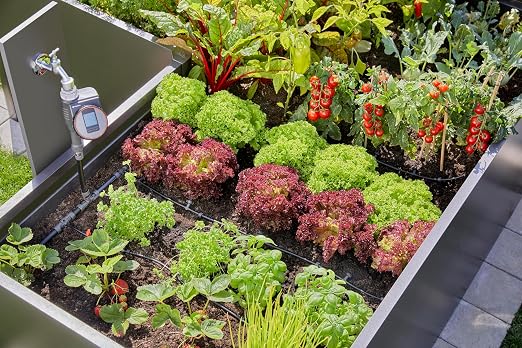
Drip irrigation (Tropfbewässerung)
Thin tubes deliver water slowly right at the base of each plant, especially useful here, since raised beds dry out faster than ground beds. Keeps foliage dry, which also cuts fungal disease.
Irrigation timer (Bewässerungscomputer)
The automation piece, mounts on the outdoor tap and switches the drip lines on and off on a schedule. Some models add a rain delay or a soil-moisture sensor.
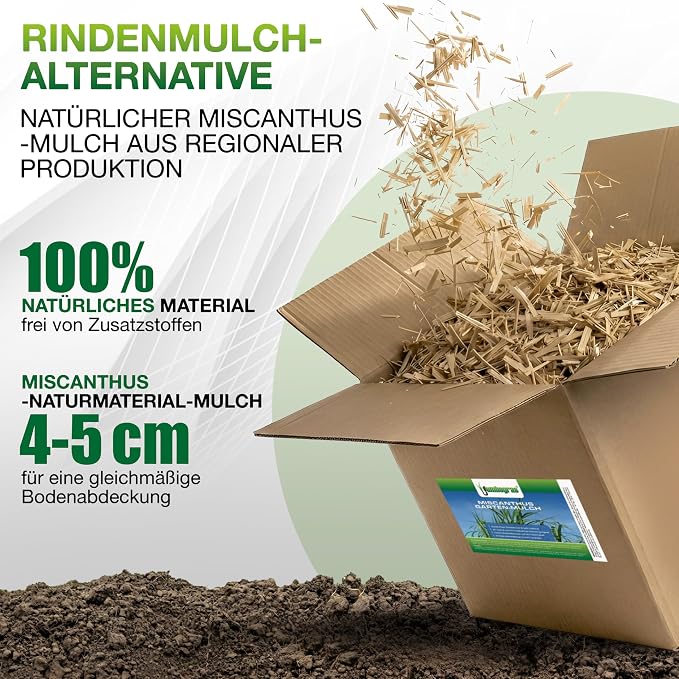
Mulch
A layer of straw or grass clippings on top of the soil helps a raised bed hold moisture for longer, useful since raised beds dry out faster than ground beds. Skip bark mulch; it ties up nitrogen as it breaks down, which vegetables need.
Filled correctly, the decomposing lower layers act a bit like a very mild hotbed in the first year or two, a nice bonus if you time the fill for autumn.
Planting in the ground
The traditional option, if your soil is reasonably loose and uncontaminated. Cheapest, but takes more initial digging and soil improvement.
- Check before you water: stick a finger 2–3 cm into the soil. If it's dry, water; if damp, wait.
- Water at the base of the plant, in the morning or evening rather than midday sun.
- A layer of mulch on top of the soil helps it retain moisture so you water less often.
Bagged compost
Mixing in compost is the single best thing you can do for ground-bed soil. Bagged works just as well as homemade if you don't have your own yet.
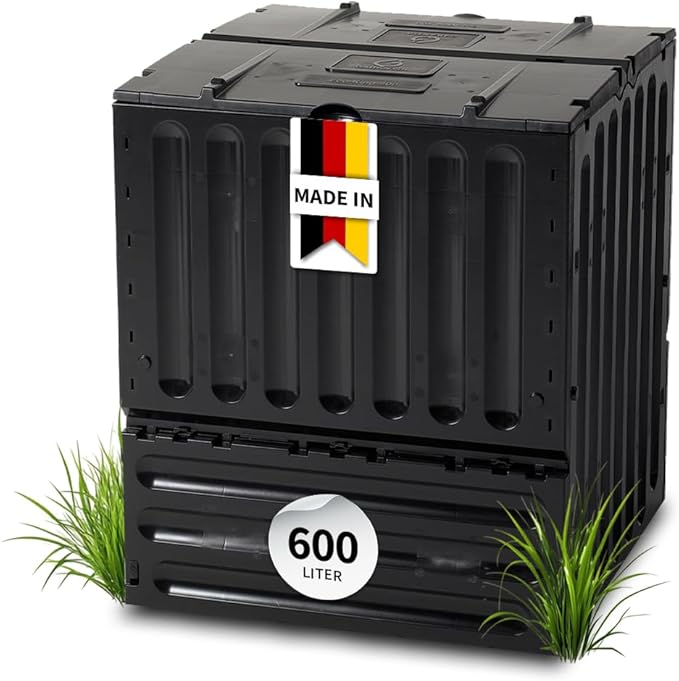
Compost bin (Komposter)
For making your own compost from kitchen and garden waste over time, pays for itself if you have any outdoor space.
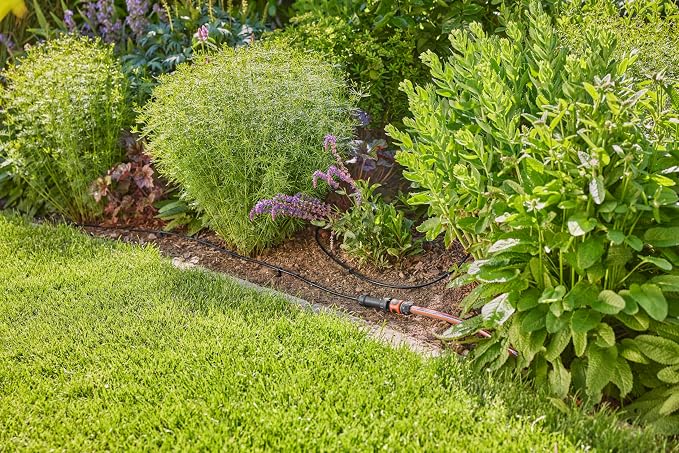
Drip irrigation (Tropfbewässerung)
Thin tubes deliver water slowly right at the base of each plant, efficient for rows spread over a wide area, and keeps foliage dry to cut fungal disease.
Irrigation timer (Bewässerungscomputer)
The automation piece, mounts on the outdoor tap and switches the drip lines on and off on a schedule, up to three programs.
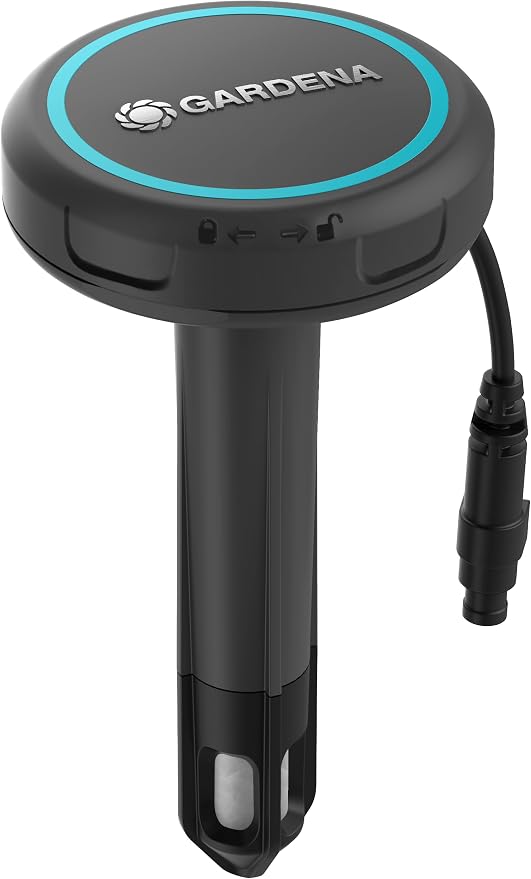
Irrigation timer with soil moisture sensor (mit Bodenfeuchtesensor)
An add-on sensor that plugs into a compatible timer and skips a scheduled watering when the soil is already moist enough. Worth it for ground beds, where rainfall does more of the work than in a pot and a fixed schedule can easily overwater.
Mulch
A layer of straw or grass clippings over the soil surface cuts down on watering and suppresses weeds between rows. Skip bark mulch for vegetables, it's slow to break down and can rob the soil of nitrogen.
Greenhouse or cold frame (optional)
Not a replacement for containers, raised beds, or ground beds, but an addition to one of them, a small greenhouse is often built right over a ground bed, or used to house containers or a raised bed, rather than standing as its own separate plot. A cold frame is a simple low box with a clear lid, like a mini unheated greenhouse, that sits over a bed or containers. Buys you a few extra weeks at each end of the season, an earlier start in spring, and a later cut-off in autumn for crops like kohlrabi and broccoli. A nice-to-have once you've got the basics going, not something you need on day one.
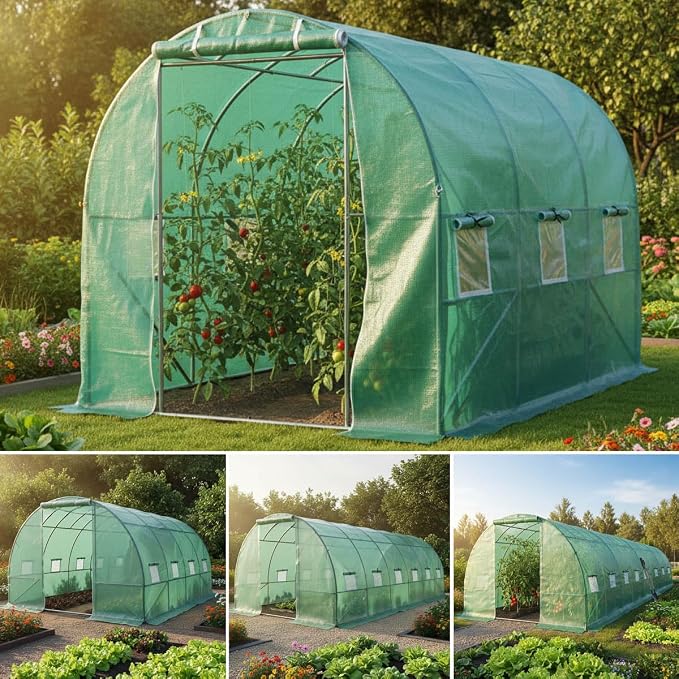
Greenhouse (Gewächshaus)
A walk-in or mini greenhouse, often built right over a ground bed rather than standing as its own separate plot. Buys you a few extra weeks at each end of the season. It also shields plants from extreme weather, wind, hail, sudden cold snaps, and traps enough heat to run a few degrees warmer than outside, which is where heat-loving crops like tomatoes and peppers thrive best.
Sun
This is the single biggest factor in success. Most fruiting vegetables (tomatoes, courgettes, beans, peppers) need at least 6 hours of direct sun a day. Leafy greens and root vegetables like radishes are more forgiving and can manage with 4–6 hours, including some afternoon shade. Spend a day watching where the sun actually falls before choosing what to grow.
Tools, you need less than you think
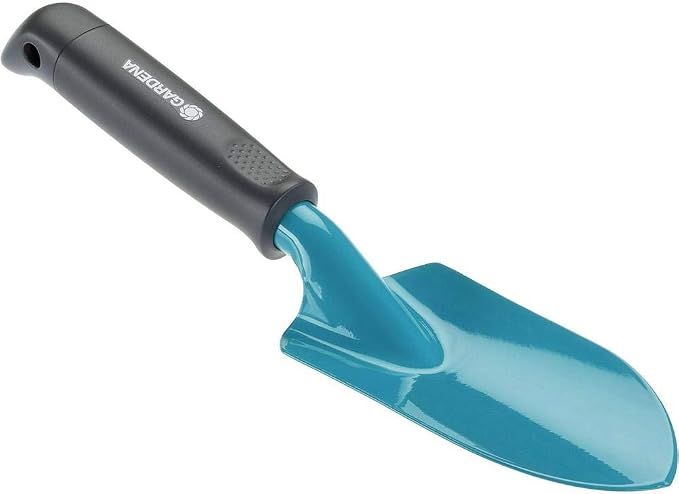
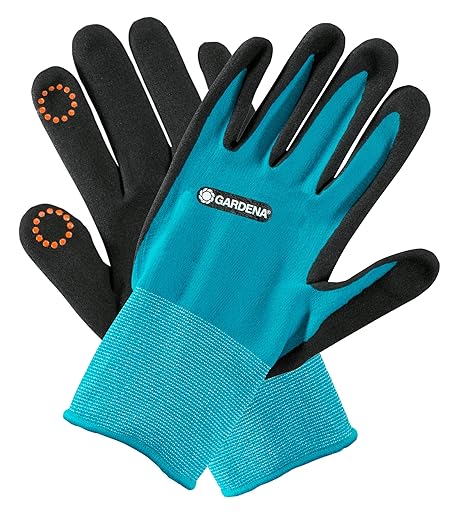
You do not need raised beds, irrigation systems, or special fertilisers to grow your first successful vegetables, they simply make it easier. To start, all you really need is a handful of basics.
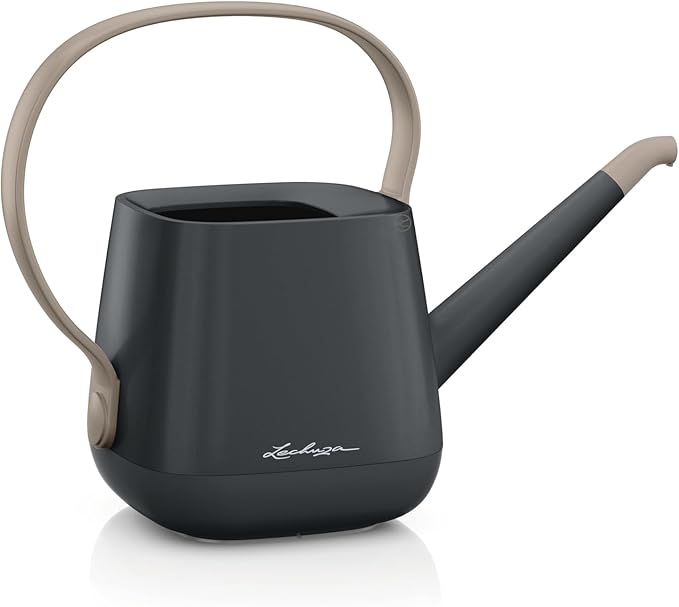
Watering can
A long, precise, drip-free spout for controlled watering without disturbing seedlings.
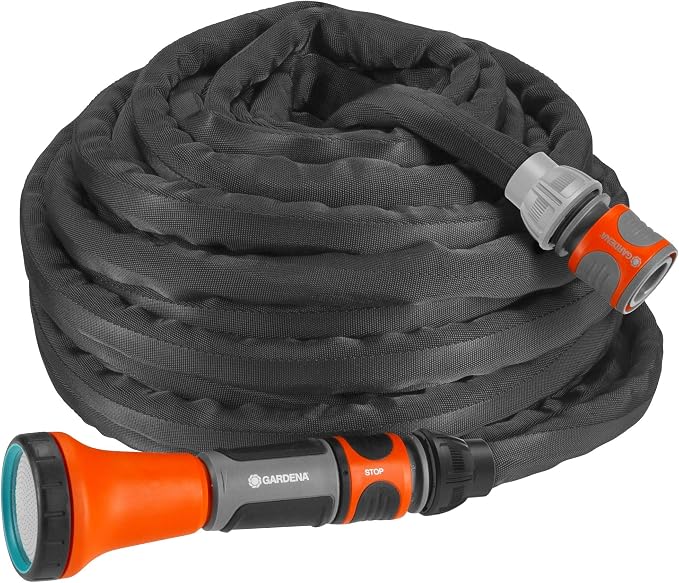
Garden hose
Faster than a watering can for ground beds or larger areas. A woven-fabric hose like this one folds flat for storage and resists kinking and twisting.
Organic fertilizer
A handful of organic options cover almost everything a vegetable patch needs, compost is covered under "Soil" in the growing-method sections above.
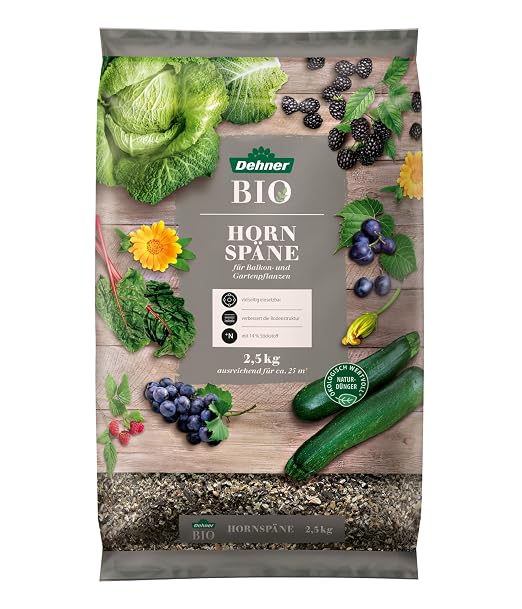
Horn shavings (Hornspäne)
A slow-release, nitrogen-rich fertilizer; scratch into the soil surface. Coarser and slower-acting than horn meal.
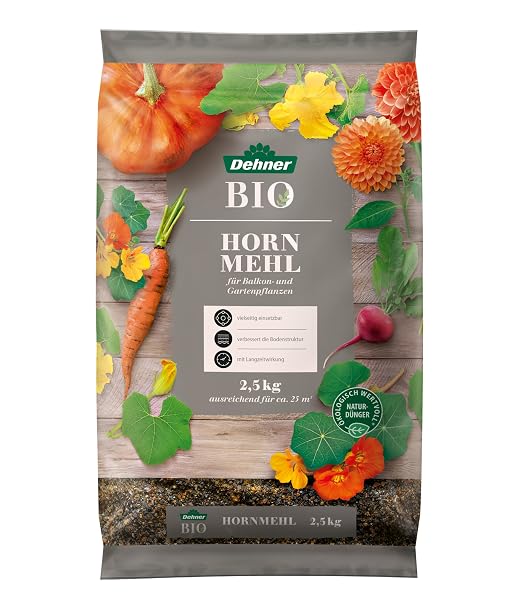
Horn meal (Hornmehl)
The finer, faster-acting version of horn shavings, same nitrogen-rich, slow-release principle.
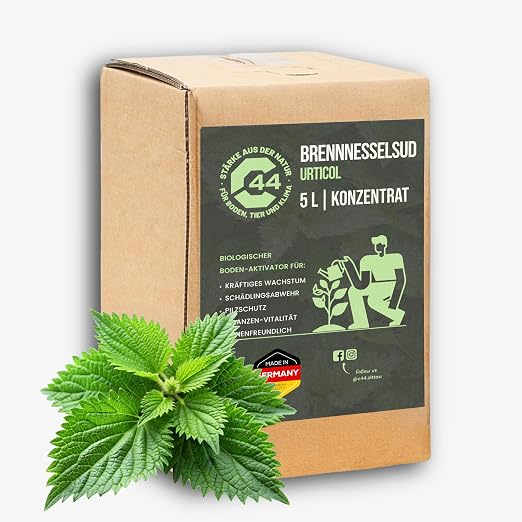
Nettle liquid feed (Brennnesseljauche)
Free and homemade: steep nettles in water for about two weeks, then dilute before use. A ready-made concentrate is the shortcut if you'd rather skip the smell and the wait.
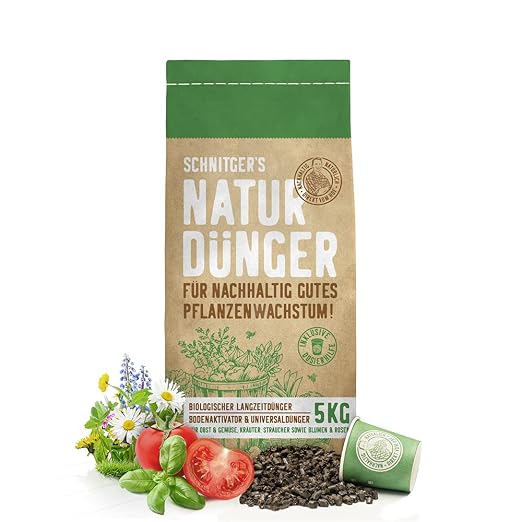
Organic pelleted fertilizer
Ready-made granules, the simplest "sprinkle and water" option if homemade liquid feeds aren't for you.
A yearly application of one or two of these is enough for most beginner vegetable patches.
Organic pest & disease control
Each box below has a photo of the pest or disease, a photo of its organic control, and one link straight to that control product. Real product photos and links to be added.
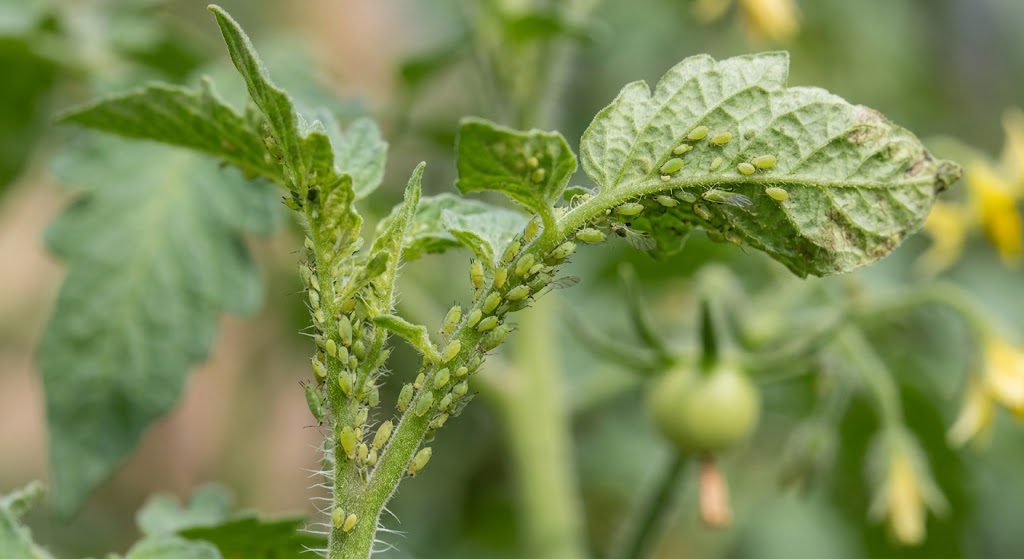
Aphids (Blattläuse)
Clusters of small green or black insects on young shoots and leaf undersides, with a sticky residue.
Control
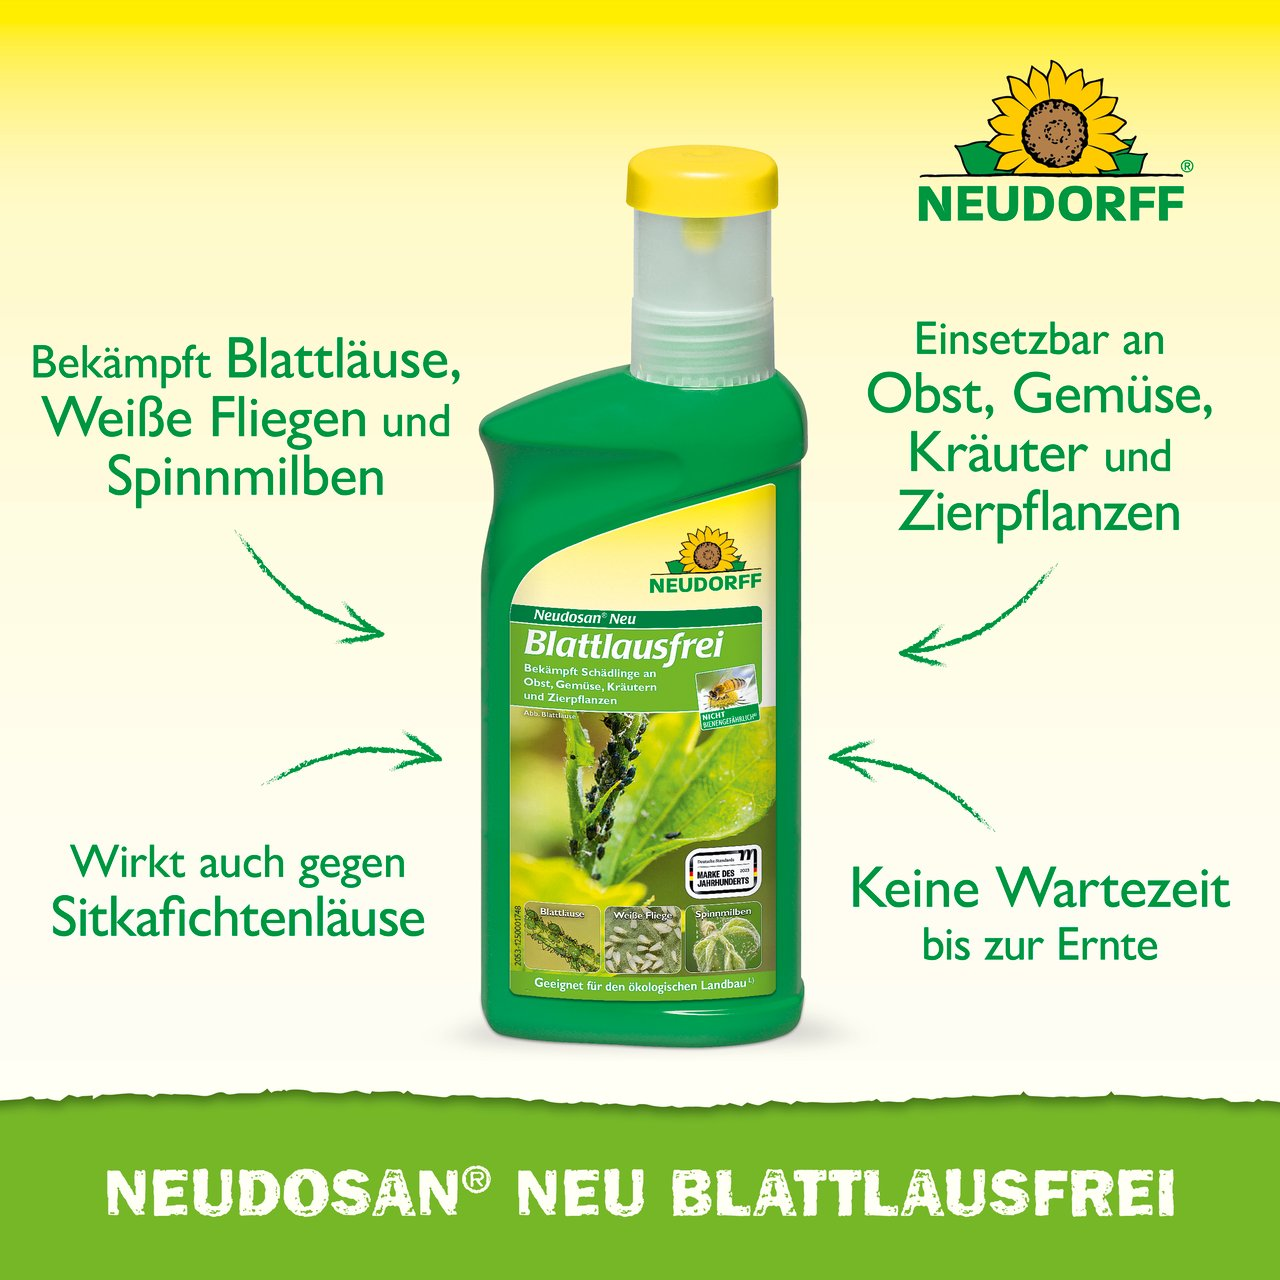
A few drops of dish soap diluted in water, sprayed directly on the colonies, helps against light infestations; an insecticidal soap spray (Neudosan) is the organic go-to for anything more established.
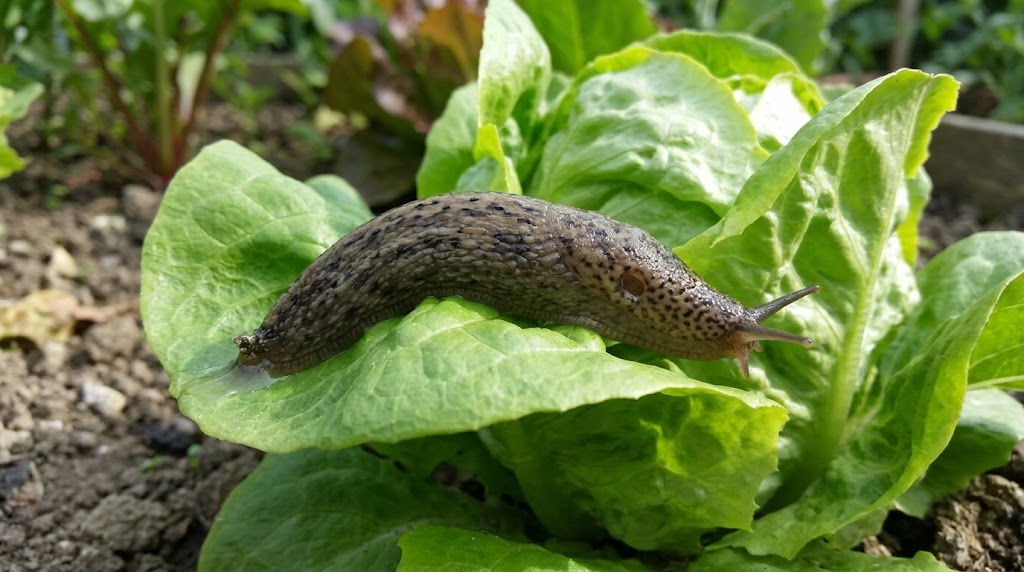
Slugs & snails (Schnecken)
Ragged holes in leaves and seedlings, slime trails, damage often overnight.
Control
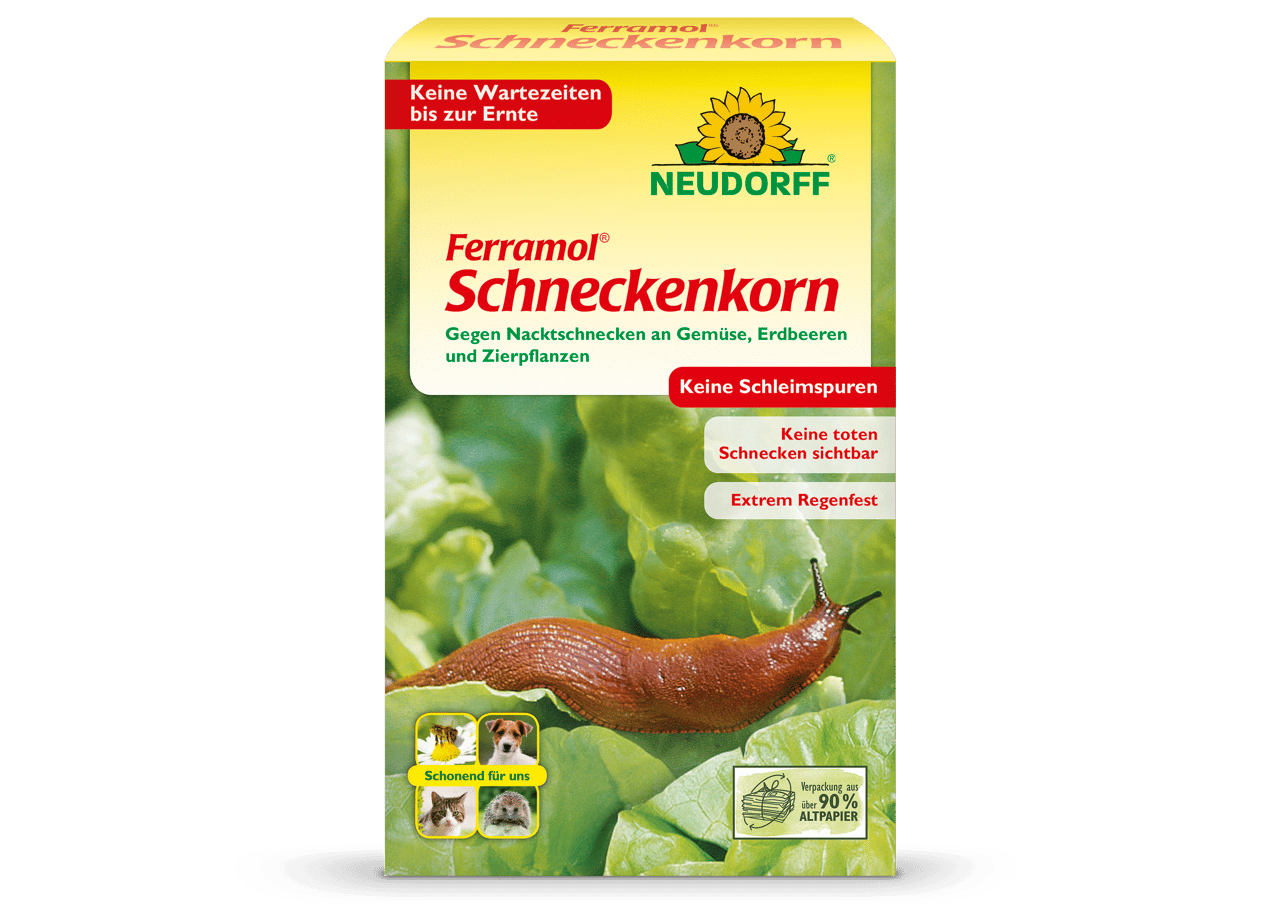
Beer traps around pots and beds; iron-phosphate slug pellets (Ferramol) are the organic-approved option if the pressure is high.
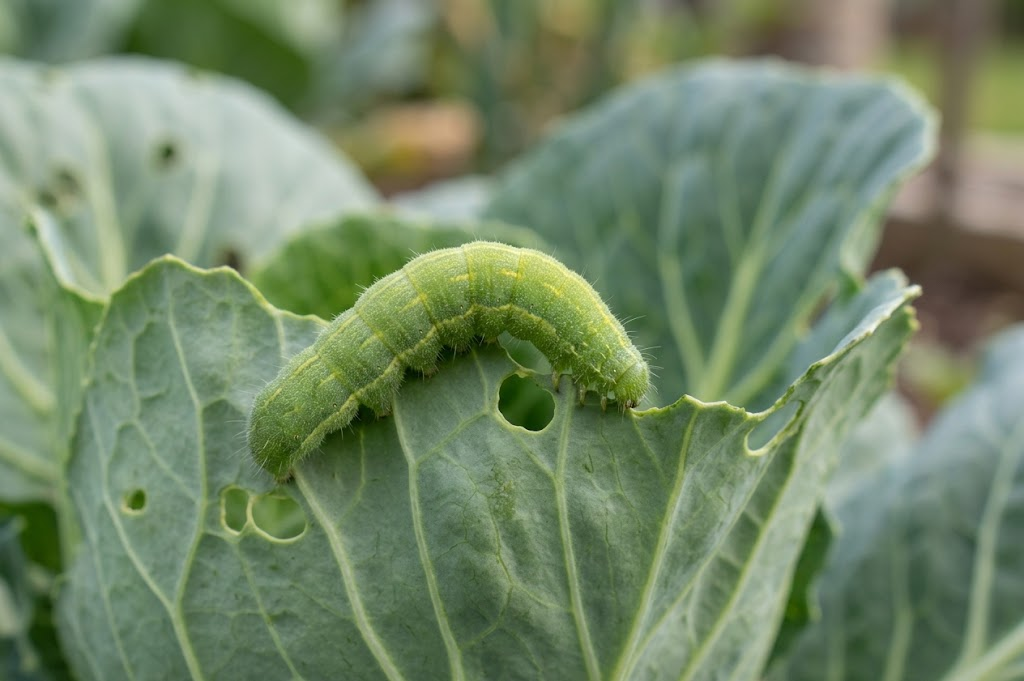
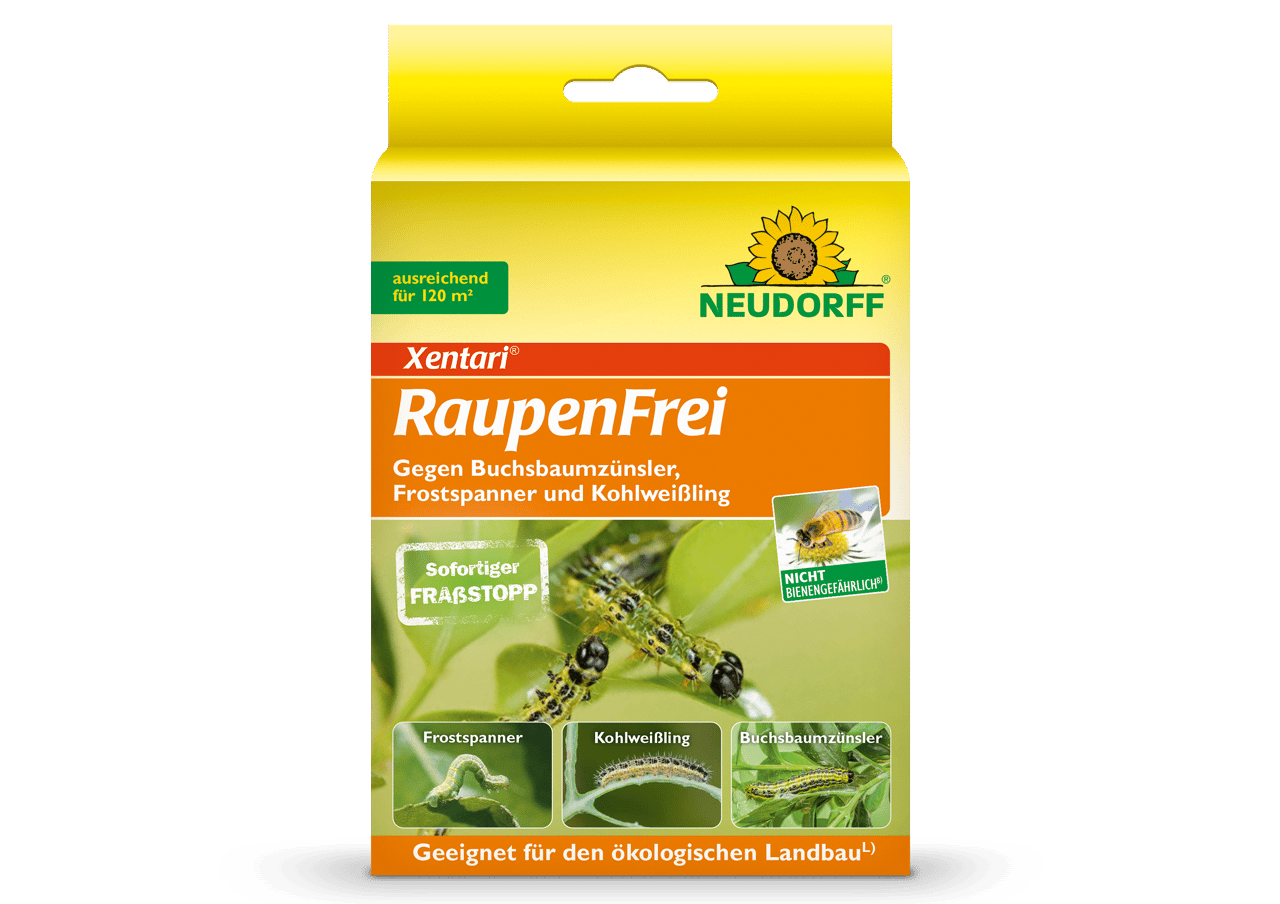
Cabbage white caterpillars (Kohlweißling)
Cabbage-family leaves (kohlrabi, broccoli, cabbage) stripped to the veins; green caterpillars visible.
Control
Fine mesh net (Kulturschutznetz) over the bed from planting onward keeps the butterflies from laying eggs in the first place. Once caterpillars are already feeding, a Bacillus thuringiensis spray (XenTari) is the organic-approved biological control.
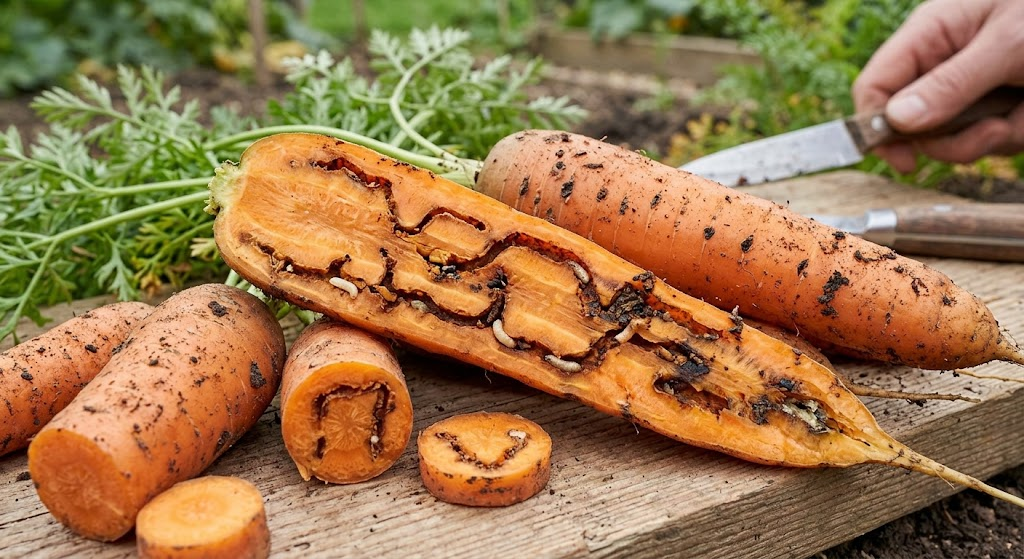
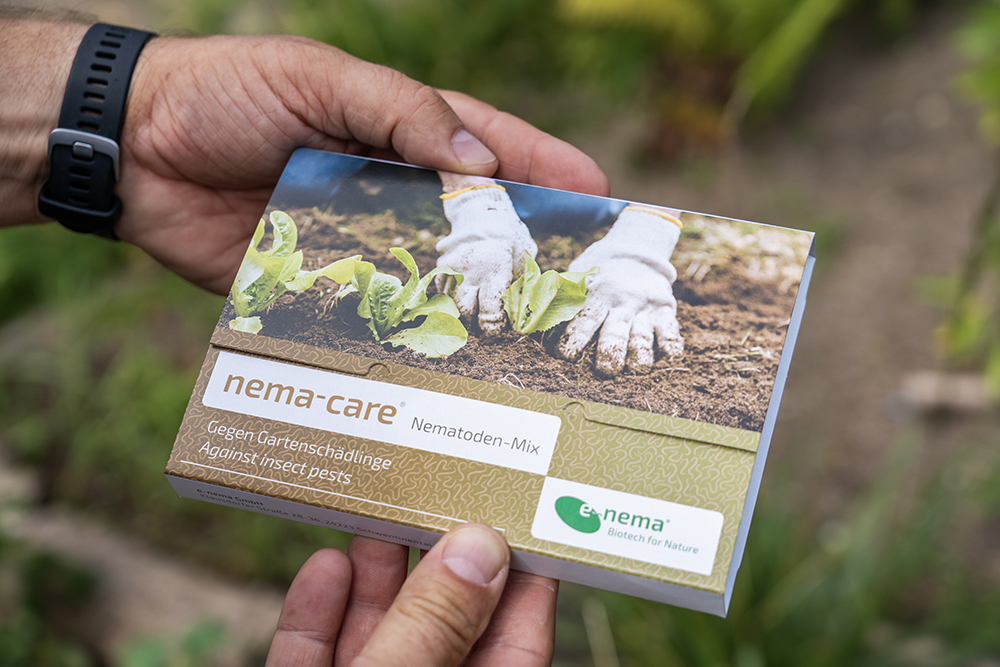
Carrot fly (Möhrenfliege)
Rusty tunnels inside carrot roots, wilting foliage.
Control
Fine insect netting or fleece over the bed, or interplant with onions/chives, keeps the adult flies off. Beneficial nematodes, a microscopic worm you water into the soil (May–September), target the larvae directly for an established infestation.
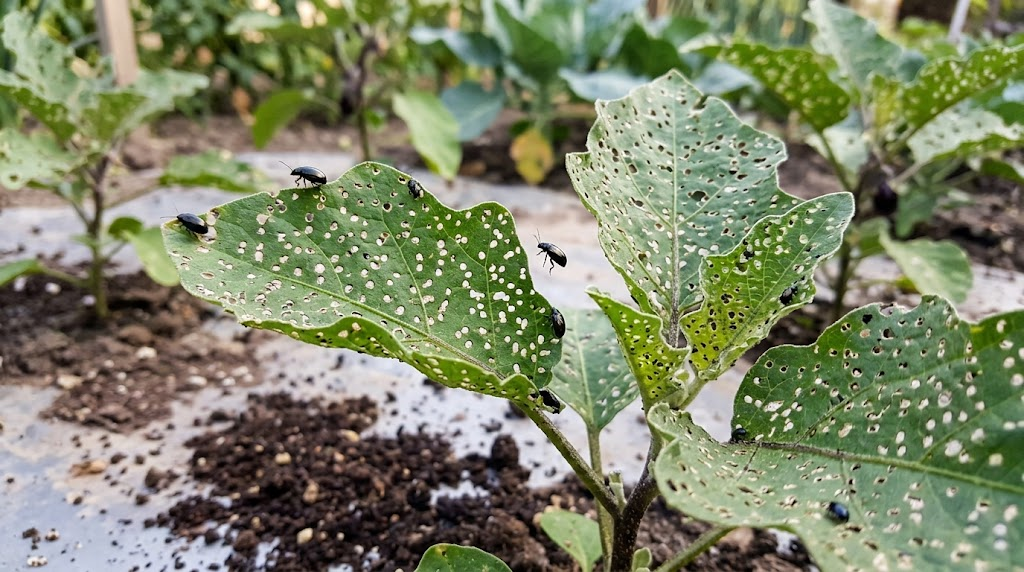
Flea beetles (Erdflöhe)
Many small "shot holes" in seedling leaves, worse in dry weather.
Control
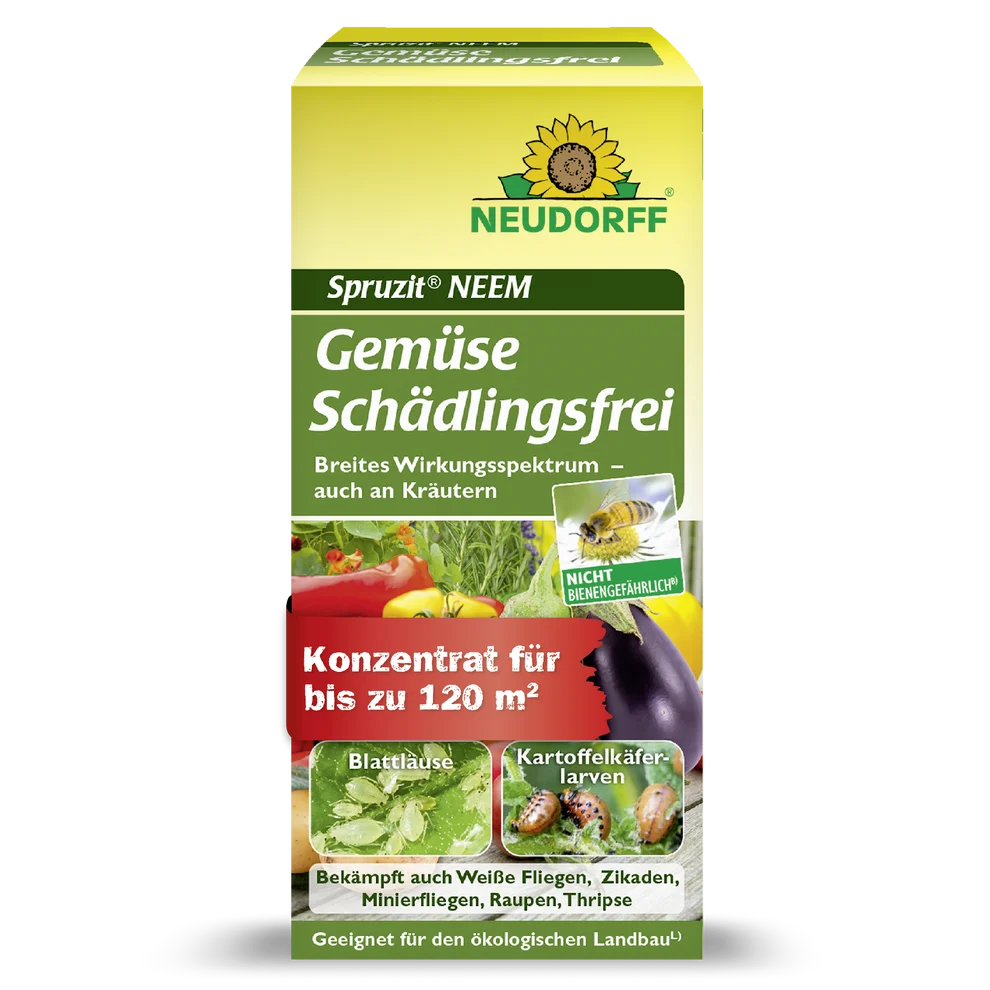
Garden fleece over young plants, and keep the soil consistently moist, flea beetles prefer it dry. For an established infestation, a neem-oil spray (Spruzit NEEM) is the organic go-to.
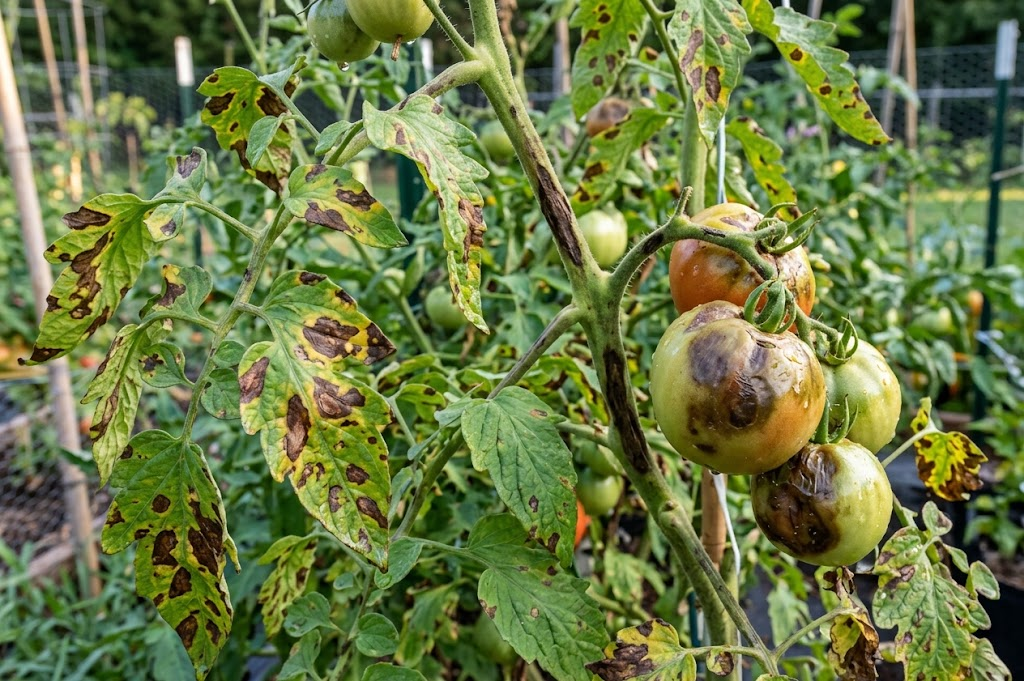
Tomato blight (Kraut- & Braunfäule)
Brown or black blotches on leaves and fruit, spreading fast in wet weather.
Control
Once it takes hold, there's no organic treatment worth using, remove and destroy affected foliage promptly to slow the spread, and focus on prevention next time: resistant varieties, good spacing for airflow, and watering at the soil rather than overhead.
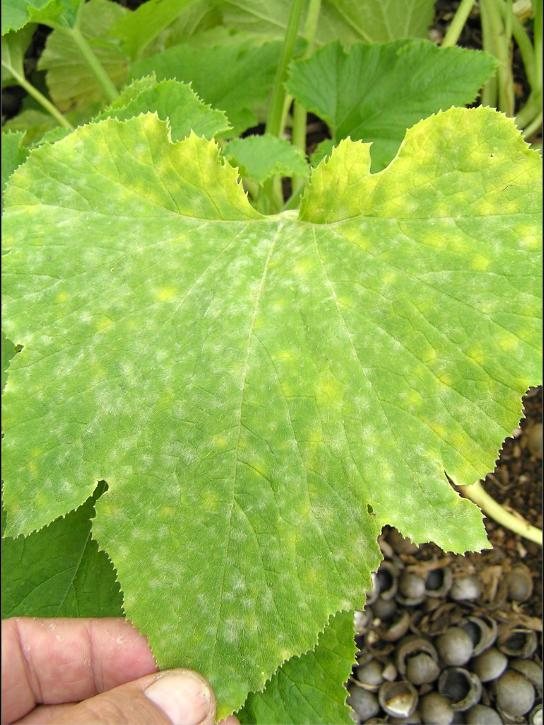
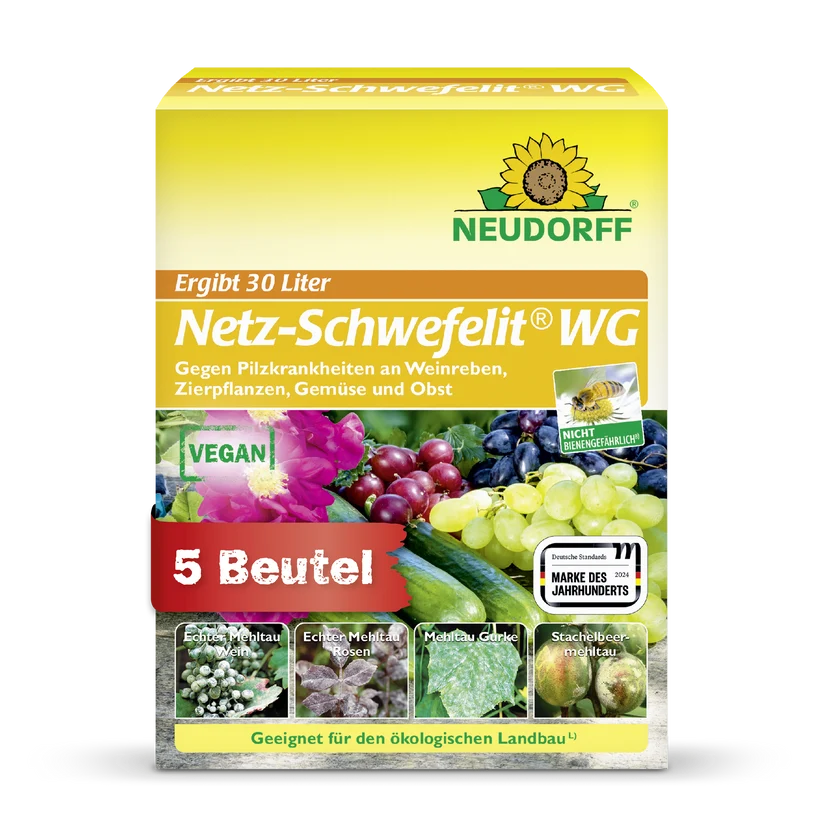
Powdery mildew (Echter Mehltau)
A white, powdery coating on leaves, common in dry, crowded conditions.
Control
Good spacing and airflow; some gardeners use a diluted milk or nettle spray, or a sulfur-based spray (Netz-Schwefelit) for an organic-approved option.
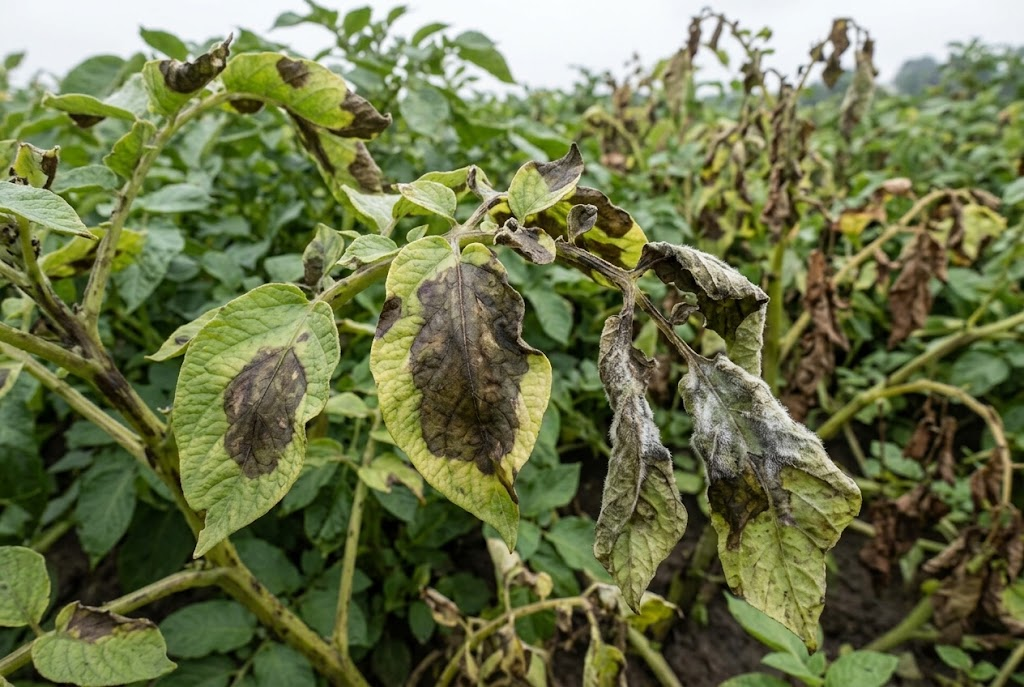
Potato blight (Kraut- & Knollenfäule)
Similar to tomato blight (it’s actually the same disease); leaves collapse, tubers can rot in the ground.
Control
Once it takes hold, there's no organic treatment worth using, remove infected foliage promptly to slow the spread, and focus on prevention next time: rotate planting spots every 3–4 years and choose resistant varieties.
More organic control products
General-purpose organic controls that cover more than one pest or disease, this list will keep growing as more are added.
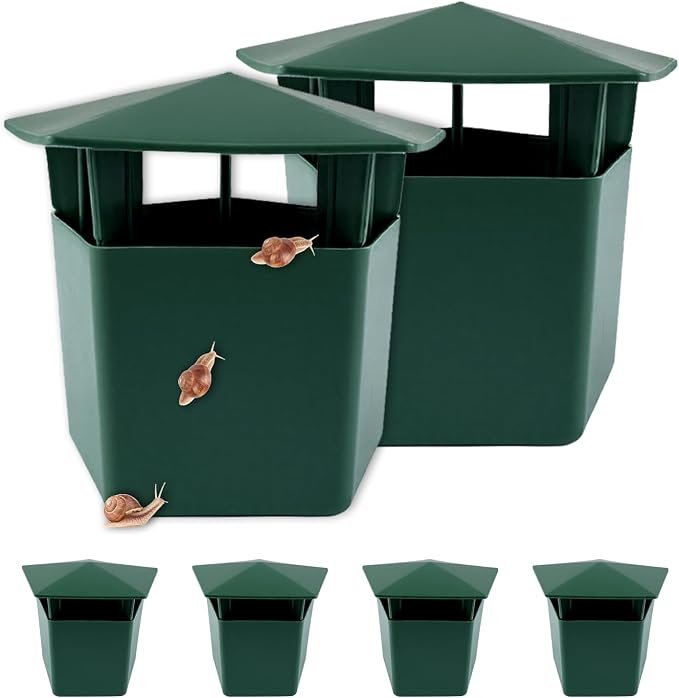
Beer traps
Reusable plastic traps, a chemical-free option for slugs and snails, set at soil level and baited with beer.
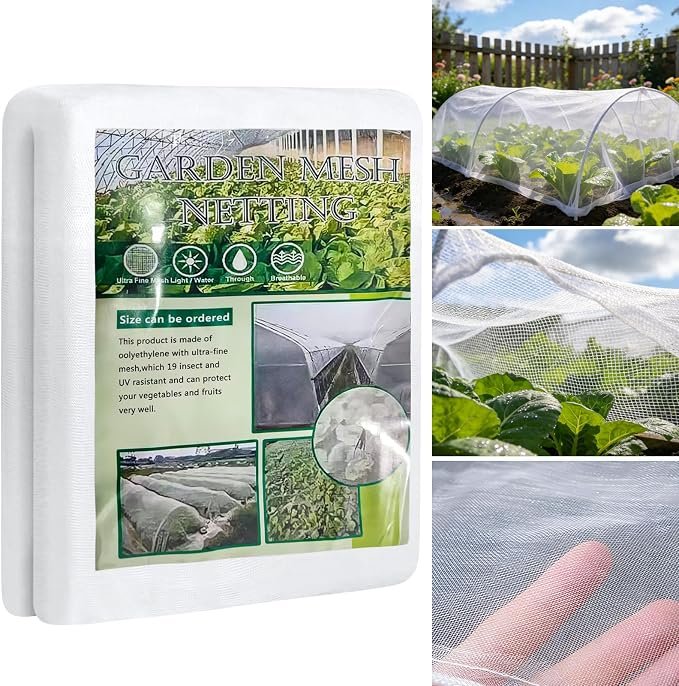
Insect mesh netting
Kulturschutznetz, a fine mesh laid over hoops or the bed itself, letting light, water and air through while keeping cabbage white butterflies and carrot fly off.
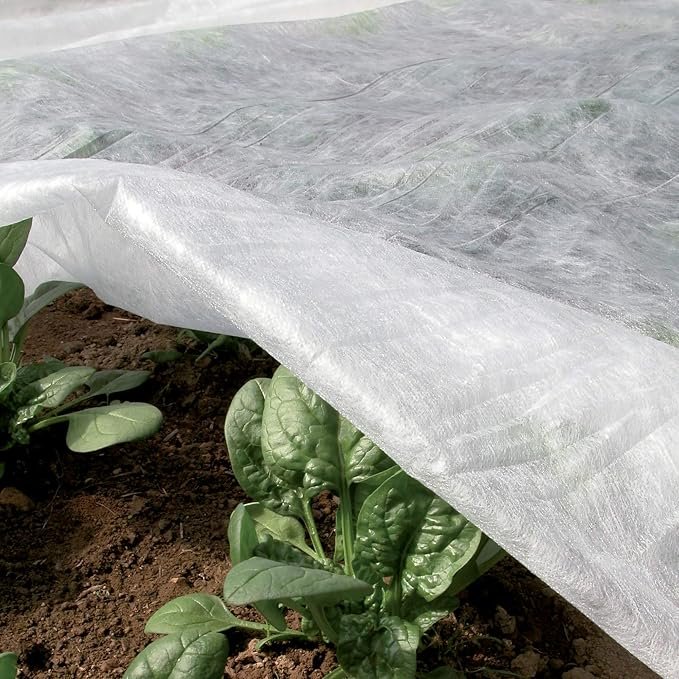
Garden fleece
Vlies, a non-woven fabric draped over plants for frost and wind protection, with the side benefit of a physical barrier against flea beetles.
For most beginner gardens, prevention, spacing, airflow, healthy soil, resistant varieties, does the vast majority of the work; sprays of any kind, even organic ones, are rarely needed.
A note on "organic": some organic-approved actives (azadirachtin- and pyrethrin-based sprays, for example) are still toxic to bees and other pollinators. If you ever do need to spray, do it in the evening once bees have stopped foraging, and treat it as a last resort rather than routine.
4 · Beginner-friendly starter list
Fourteen reliable crops to begin with.
Timing uses the "Ice Saints" rule of thumb explained in the calendar below, adjust a little earlier or later depending on your region.
Seeds come from samen.de. — Each row links straight to a matching seed variety on samen.de. Chickpeas aren't sold as seed, simply buy any organic (bio) edible pack from the supermarket and sow from it. Tools and other products link to Amazon.
Quick first crops
Radishes (Radieschen)
Loose-leaf lettuce (Pflücksalat)
Spinach
Peas (Zuckererbsen)
Beans & fruiting crops
Chickpeas (Kichererbsen)
Bush beans (Buschbohnen)
Zucchini / courgette
Snack cucumber (Snackgurke)
Tomatoes
Leafy greens, herbs & brassicas
Swiss chard (Mangold)
Herbs, chives, parsley, basil
Kohlrabi
Broccoli
Cabbage (Kohl)
A tip for your very first attempt: if you want a guaranteed early win, start with radishes and loose-leaf lettuce. They're cheap, fast, nearly foolproof, and will build your confidence before you take on anything slower like tomatoes.
Zucchini, cucumbers, and tomatoes: for your first season, I'd recommend buying young plants (Jungpflanzen) for these three rather than starting from seed. All three need many weeks of warm, bright conditions early on to get going, which is hard to manage reliably without a heated propagator and grow lights, a ready-grown seedling from a garden centre gets you to a productive plant with far less risk.
5 · Simple seasonal calendar for Germany
When to sow, plant, and harvest.
Germany's growing season varies by region, but one rule of thumb works everywhere: the "Eisheilige" (Ice Saints), 11–15 May, traditionally the last realistic risk of a damaging late frost. Don't plant frost-tender vegetables outdoors before then unless you're in a mild region.
Southwest / Rhine Valley
Germany's mildest area, plant frost-tender crops 1–2 weeks earlier than the Ice Saints date; season runs into late October.
Central Germany
The Ice Saints date applies fairly directly; season typically late April to early/mid-October.
North / coastal
A cool, slow-starting spring but a mild, late autumn; the Ice Saints date still applies well.
East, Bavaria & higher elevations
The coldest, shortest season, wait a little past 15 May for frost-tender crops; first autumn frost can arrive by late September.
| Month | Sow / start | Plant out | Harvest | Notes |
|---|---|---|---|---|
| Jan–Feb | Optional: tomatoes, basil, peppers indoors | — | — | Planning month: order seeds, clean pots and tools. |
| March | Radishes, lettuce, spinach, peas, carrots | Cold-hardy young plants (with frost cover ready) | — | Prepare beds: work in compost. |
| April | Continue radishes, lettuce, spinach, chard, carrots, peas | — | Early radishes possible late April | Start getting tomato/zucchini seedlings used to the outdoors, a few hours outside each day, gradually longer, before planting them out for good. |
| May | Successive radish/lettuce sowings | After the Ice Saints (15 May): tomatoes, zucchini, cucumbers, basil, beans | Lettuce, spinach, early peas | The busiest planting month of the year. |
| June | More beans, zucchini, late lettuce/radish; buy/sow kohlrabi seedlings | Kohlrabi and cabbage seedlings | Lettuce, radishes, spinach, first peas | Water regularly; mulch to reduce watering. |
| July | Autumn spinach and lettuce; buy or start late-batch broccoli seedlings | Kohlrabi seedlings (successive); last cabbage seedlings for a head before winter | Zucchini, beans, chard, first tomatoes | Peak season, harvest often to keep plants productive. |
| August | Last outdoor sowings of lettuce/spinach | Last kohlrabi seedlings outdoors; late broccoli seedlings (buy now, plant by end of month) | Tomatoes, zucchini, beans, chard, herbs | Watch for water stress in containers. This is the practical cut-off for planting kohlrabi/broccoli/cabbage seedlings outdoors. |
| September | — | — | Tomatoes, zucchini, beans, chard, late lettuce, kohlrabi | First frosts possible late Sep in colder regions, have fleece ready. Too late to plant new kohlrabi, broccoli, or cabbage seedlings outdoors without protection; a greenhouse or cold frame can still make it work for a few more weeks. |
| October | — | — | Chard, hardy greens; final tomatoes/zucchini | Clear frost-killed plants, add compost for winter. |
| Nov–Dec | — | — | — | Garden rests. Clean and store tools; plan next year. |
6 · Common beginner mistakes
Easy to make, easy to fix.
Overwatering "just to be safe."
More seedlings are killed by soggy roots than by drought.
→ Use the finger test, and always use containers with drainage holes.
Planting tender crops too early.
A warm April day tempts you to plant tomatoes, but a late frost will kill them.
→ Wait until after the Ice Saints (15 May) for frost-sensitive plants.
Sun-loving plants in a shady spot (or vice versa).
Tomatoes sulk in too much shade; lettuce turns bitter and shoots up to flower (‘bolts’) too early in too much hot sun.
→ Observe your space's actual sun hours before choosing what to plant.
Overcrowding.
Packing seedlings too close leads to weak, stunted plants competing for light, water, and nutrients.
→ Follow seed-packet spacing, and thin out extra seedlings.
Unimproved clay soil in containers.
Straight clay soil compacts in pots and drains badly.
→ Use bagged potting soil, or mix half-and-half with loose garden soil.
A container that's too small (or has no drainage).
A shallow pot restricts roots and dries out within hours in summer heat.
→ Match container size to the plant's needs and ensure free drainage.
Giving up after one crop fails.
A failed sowing is discouraging but completely normal, even for experienced gardeners.
→ Sow small batches every few weeks (succession sowing) rather than all at once.
7 · Legal & practical considerations
What to check before you plant.
Rented balcony or terrace
If your lease already allows flower boxes, growing vegetables and herbs in pots is generally treated the same as ordinary balcony planting. Get landlord permission before any structural change (like drilling for heavy planters), secure pots so they can't fall, and make sure water doesn't drip onto a neighbour's balcony or the street below.
Rented house garden
Get your landlord's agreement before converting a lawn area into vegetable beds, and in a shared garden, be considerate of common-use expectations rather than fencing off a private plot without agreement.
Allotment gardens (Kleingarten/Schrebergarten)
Governed nationally by the Bundeskleingartengesetz. Plots are legally required to support "kleingärtnerische Nutzung", productive small-garden use. The common guideline: roughly one-third of the plot in productive use, with around 10% actively worked as vegetable beds. Each local Kleingartenverein sets its own additional bylaws (Gartenordnung), check with your association.
Water use during dry summers
Some German cities issue temporary emergency restrictions on drinking-water use for gardens during droughts (e.g. banning lawn sprinkling; drip irrigation is typically exempt from time restrictions). Check your city's current announcements during a hot, dry spell. Rainwater barrels and mulching reduce how much tap water your garden needs regardless.
These are general pointers, not legal advice, lease terms, association bylaws, and local ordinances vary, so confirm specifics with your landlord, allotment association, or city as relevant to your situation.
8 · Starter Q&A
Quick answers to first questions.
Get the occasional update
New guides, seasonal reminders, and upcoming Munich events, no spam, unsubscribe any time.